Single-Sign-On (SSO)

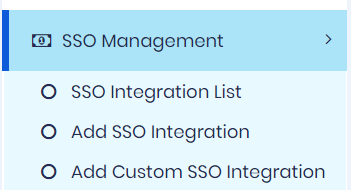
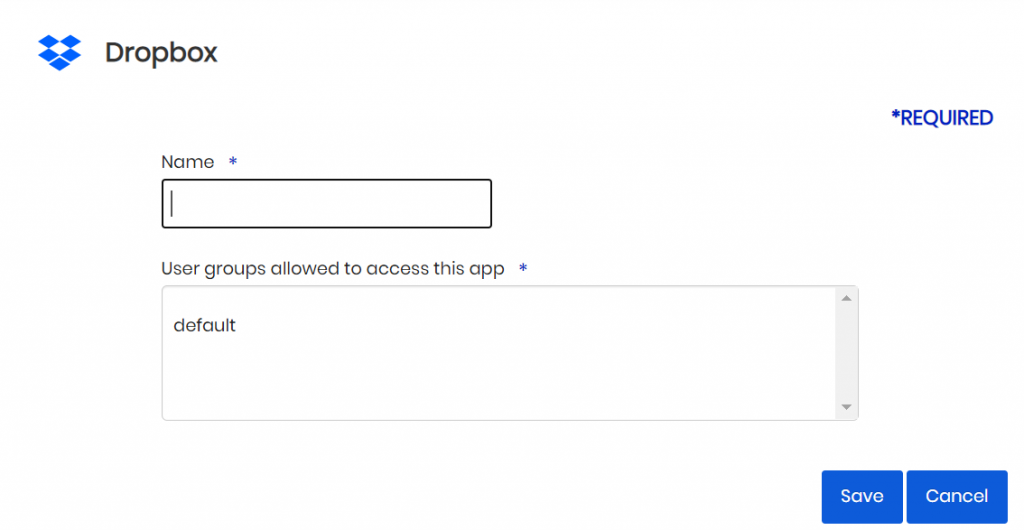
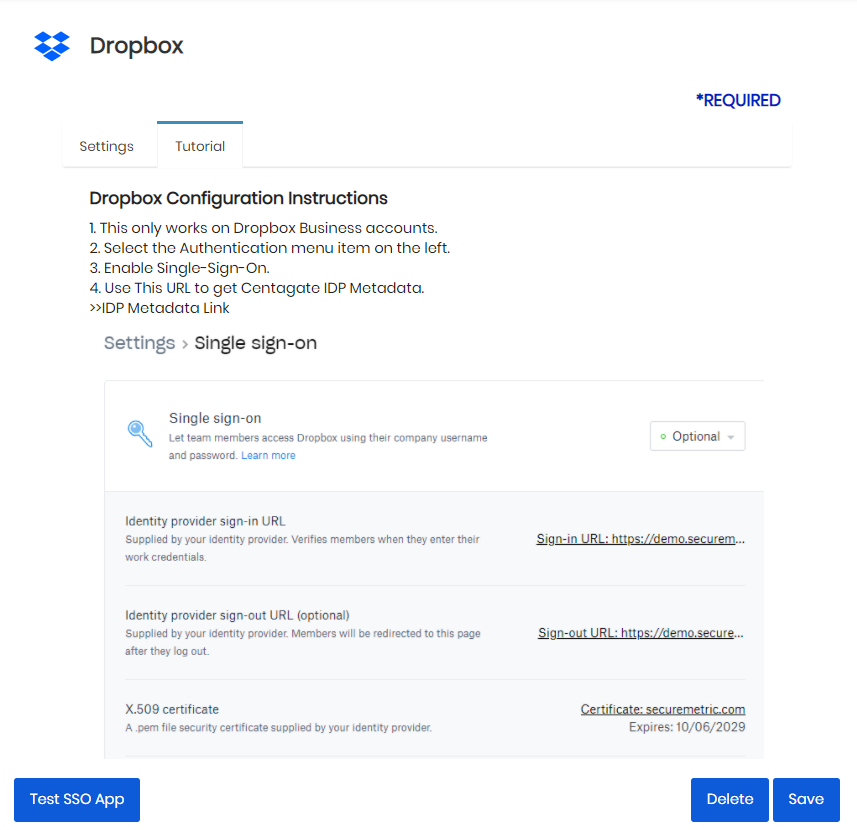
Single sign-on in a CENTAGATE Cloud is an authentication scheme that allows a user to log in with a single ID and password together with two factor authentications which provided by CENTAGATE Cloud.  

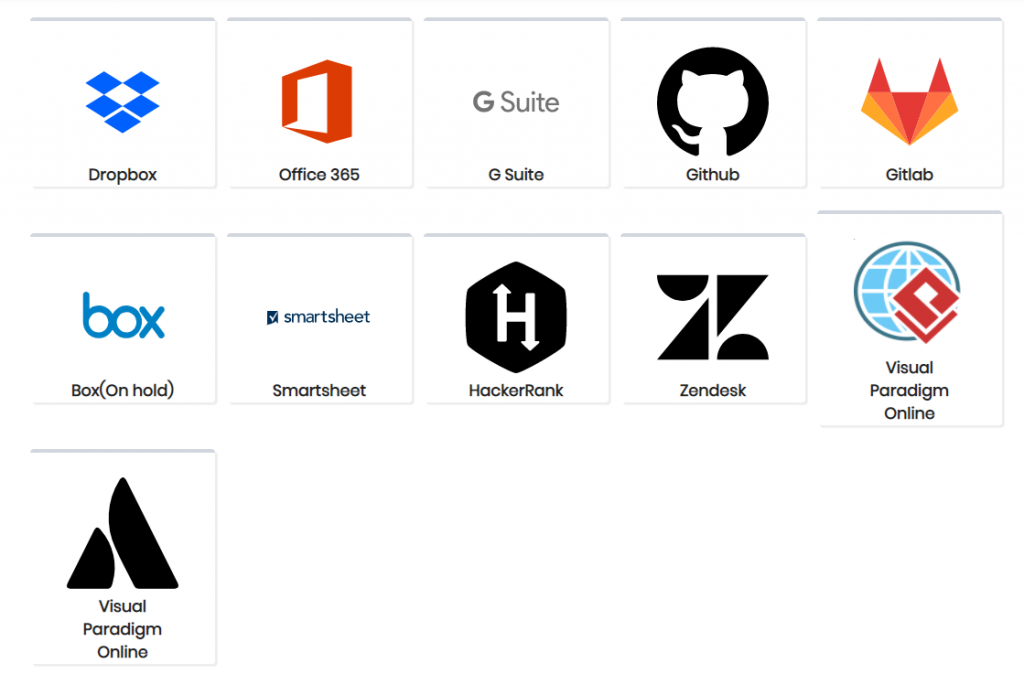
True single sign on allows the user to login once and access services without re-entering authentication factors. CENTAGATE Cloud acts as Identity Provider and provide connection with other service provider such as Office365,  dropBox, Gsuite, Gitlab, Github, and etc.

1. For SSO Management, after user click the SSO Management button at the sidebar, user will notify three option which is SSO Integration List, Add SSO Integration and Add Custom SSO Integration.

Figure 1: SSO Management Option

2. Click SSO Management → SSO Integration List.

Figure 2: Navigate to SSO Integration List page

3. First steps to do SSO integration with third-party service provider, user click SSO Management → Add SSO Integration.

Figure 3: Navigate to Add SSO Integration page

4. Over here user can find all the third-party service provider which have integrated with CENTAGATE Cloud. User can choose and fill up the details that needed for the integration.

Figure 4: Service-Provider at the SSO Integration page

5. In order to user the third-party service provider, user just need to click the service provider they wish CENTAGATE Cloud to integrate.

6. After user click the third-party service provider. User compulsory need to fill up the name and group that service provider will be accessing.

Figure 5: Service-Provider Add page

7. After user successfully add the SSO. User need to navigate to SSO List and press the Update button on the SSO that user newly created.

Figure 6: SSO Integration List

8.  At that service-provider update page user will notice two tab. One is Settings and another is Tutorial. 

Figure 7: Service-Provider Update page

9.  At the Settings tab, user can update details such as SSO name and user group that allowed to access this SSO. User can disable and enable Force Auth option.

Figure 8: Service-Provider Update page with Settings section

10.  Tutorial tab will have instructions on configuring the service provider. User can refer it and follow for the service provider configurations.

Figure 9: Service-Provider Update page with Tutorial section

11. Click SSO Management → Add Custom SSO Integration.

Figure 10: Navigate to SSO Metadata page

12. Then user will be navigate go to Add Custom SSO Integration page. User need to fill all the details for the custom service-provider.

Figure 11: Add Custom SSO Metadata page

13. User need to fill the SP metadata name and SP ID for the custom SSO Integration and this field is compulsory for user need to fill.

Figure 12: SP Metadata name and SP ID

14. User need provide the service-provider metadata data at SP-Metadata field.

Figure 13: SP Metadata

15. Then user need to choose the group that allowed to access this SSO.

Figure 14: User group allowed to access this SSO field

16. Then, user need to select correct options and for the service provider, and lastly click the save button.

Figure 15: SP Metadata Option