LDAP apps helps to integrate with CENTAGATE Cloud with LDAP server.
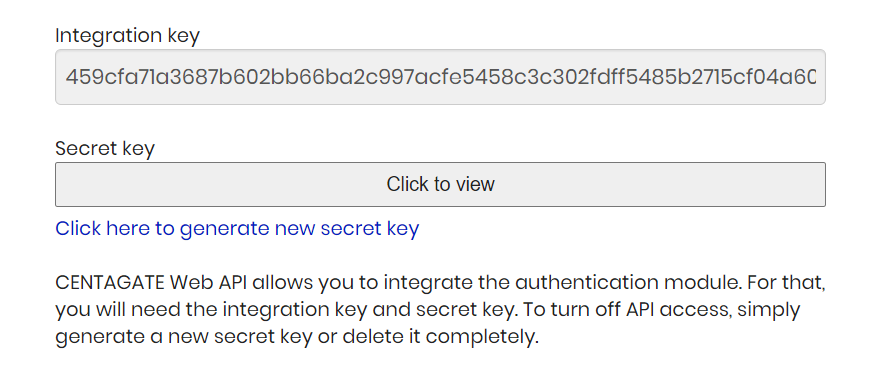
By adding the LDAP server successfully, the app will provide user Integration Key and Secret Key for the purpose of use it with the secure service
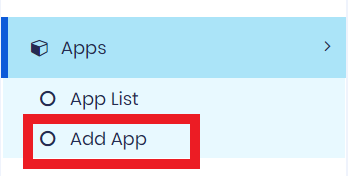
1. Click Apps → Add App.
Figure 1: Navigate Add App page
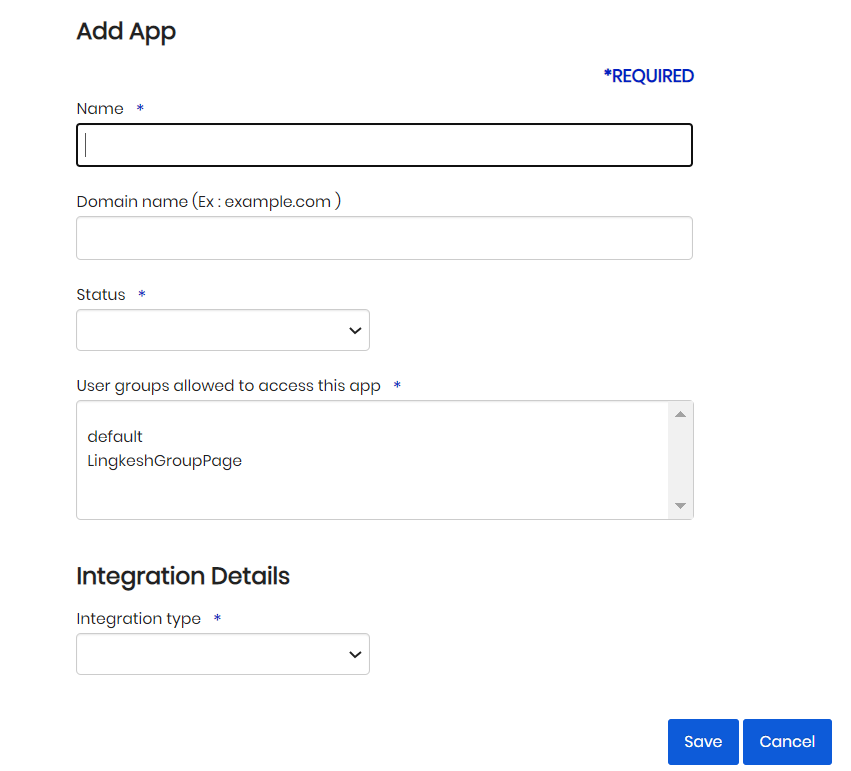
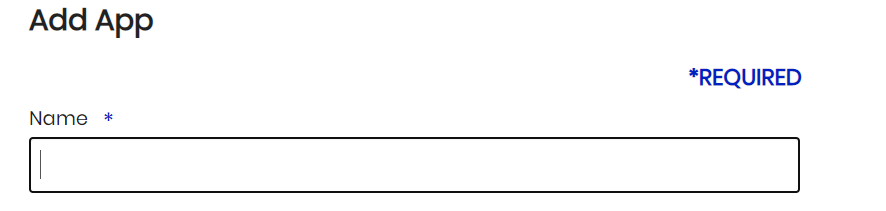
2. First enter the App name in order to identify the App at the App List.
Figure 2: App Name
3. Then add domain name. This is not compulsory to be added at the Add App page.
Figure 3: Domain Name
4. Select the App status within two choice Active and Inactive.
Figure 4: App Status
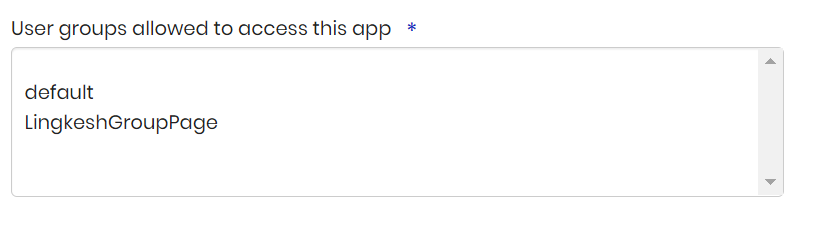
5. Select the group, that wanted to apply the App Integration.
Figure 5: User groups allowed to access the App
6. For the Integration Type select the LDAP option.
Figure 6: Integration Type
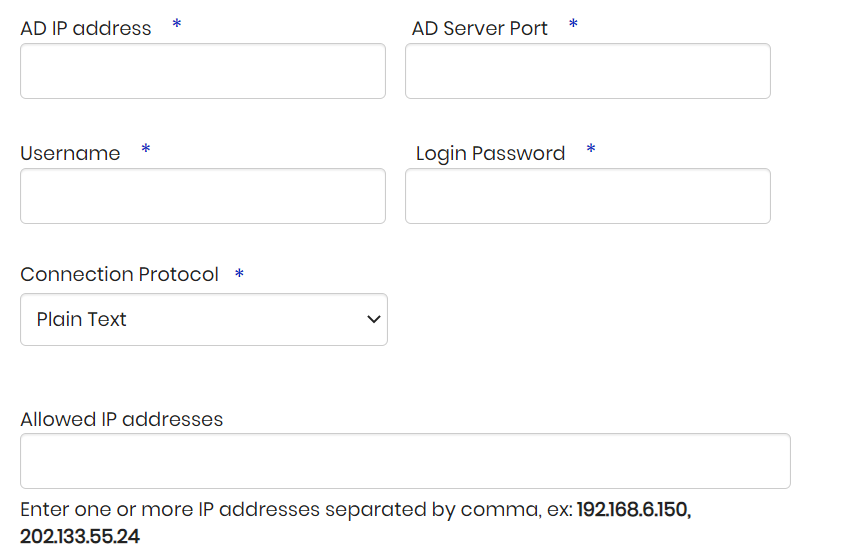
7. After select the LDAP as Integration Type, then new field will occurs where need to save the LDAP server configuration inside the CENTAGATE Cloud.
Figure 7: LDAP Configuration Setup
8. Add the Active Directory (AD) IP address and port that have open for CENTAGATE Cloud to access.
Figure 8: Active Directory (AD) IP Address and Port
9. Add the Username and Password for User Account that CENTAGATE Cloud to access the AD server.
Figure 9: Active Directory (AD) IP Address and Port
10. Then, enter the IP Address that allowed to access the LDAP App. This is optional, user can choose not to fill any value on this Allowed IP addresses.
Figure 10: Allowed IP Addresses
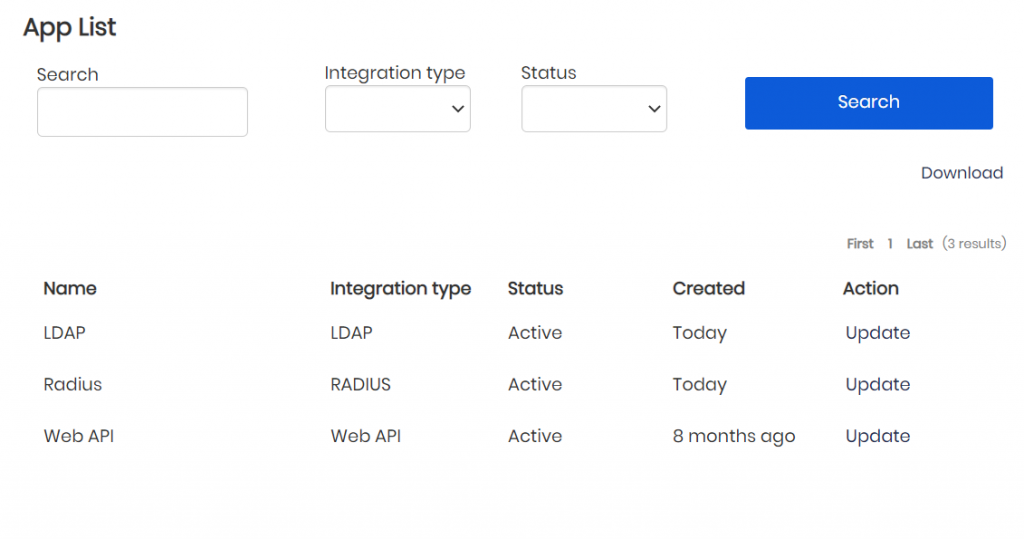
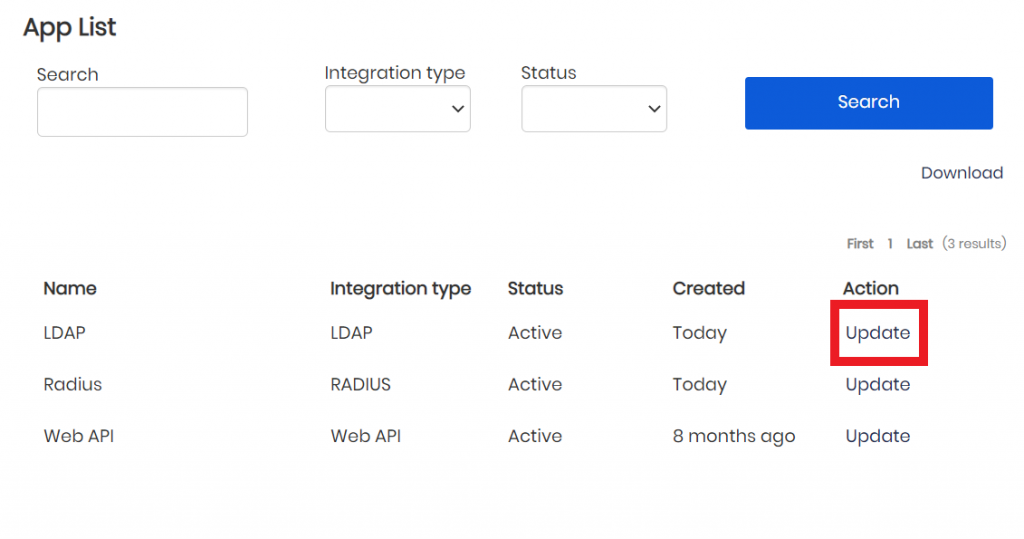
11. After successfully add the LDAP app and it will navigate to the App List
Figure 11: Navigate App List page
12. Then user need click the Update button on the LDAP App at the App List and then it will navigate the user to the Update App page.
Figure 12: App List Page
13. At the bottom of the Update App page will have two more new field which are Integration Key and Secret Key.
Figure 13: Integration Key and Secret Key at the Update App page